THOTCON 0xD Badge — Part 2: Designing the PCB
A little work in Fusion goes a long way
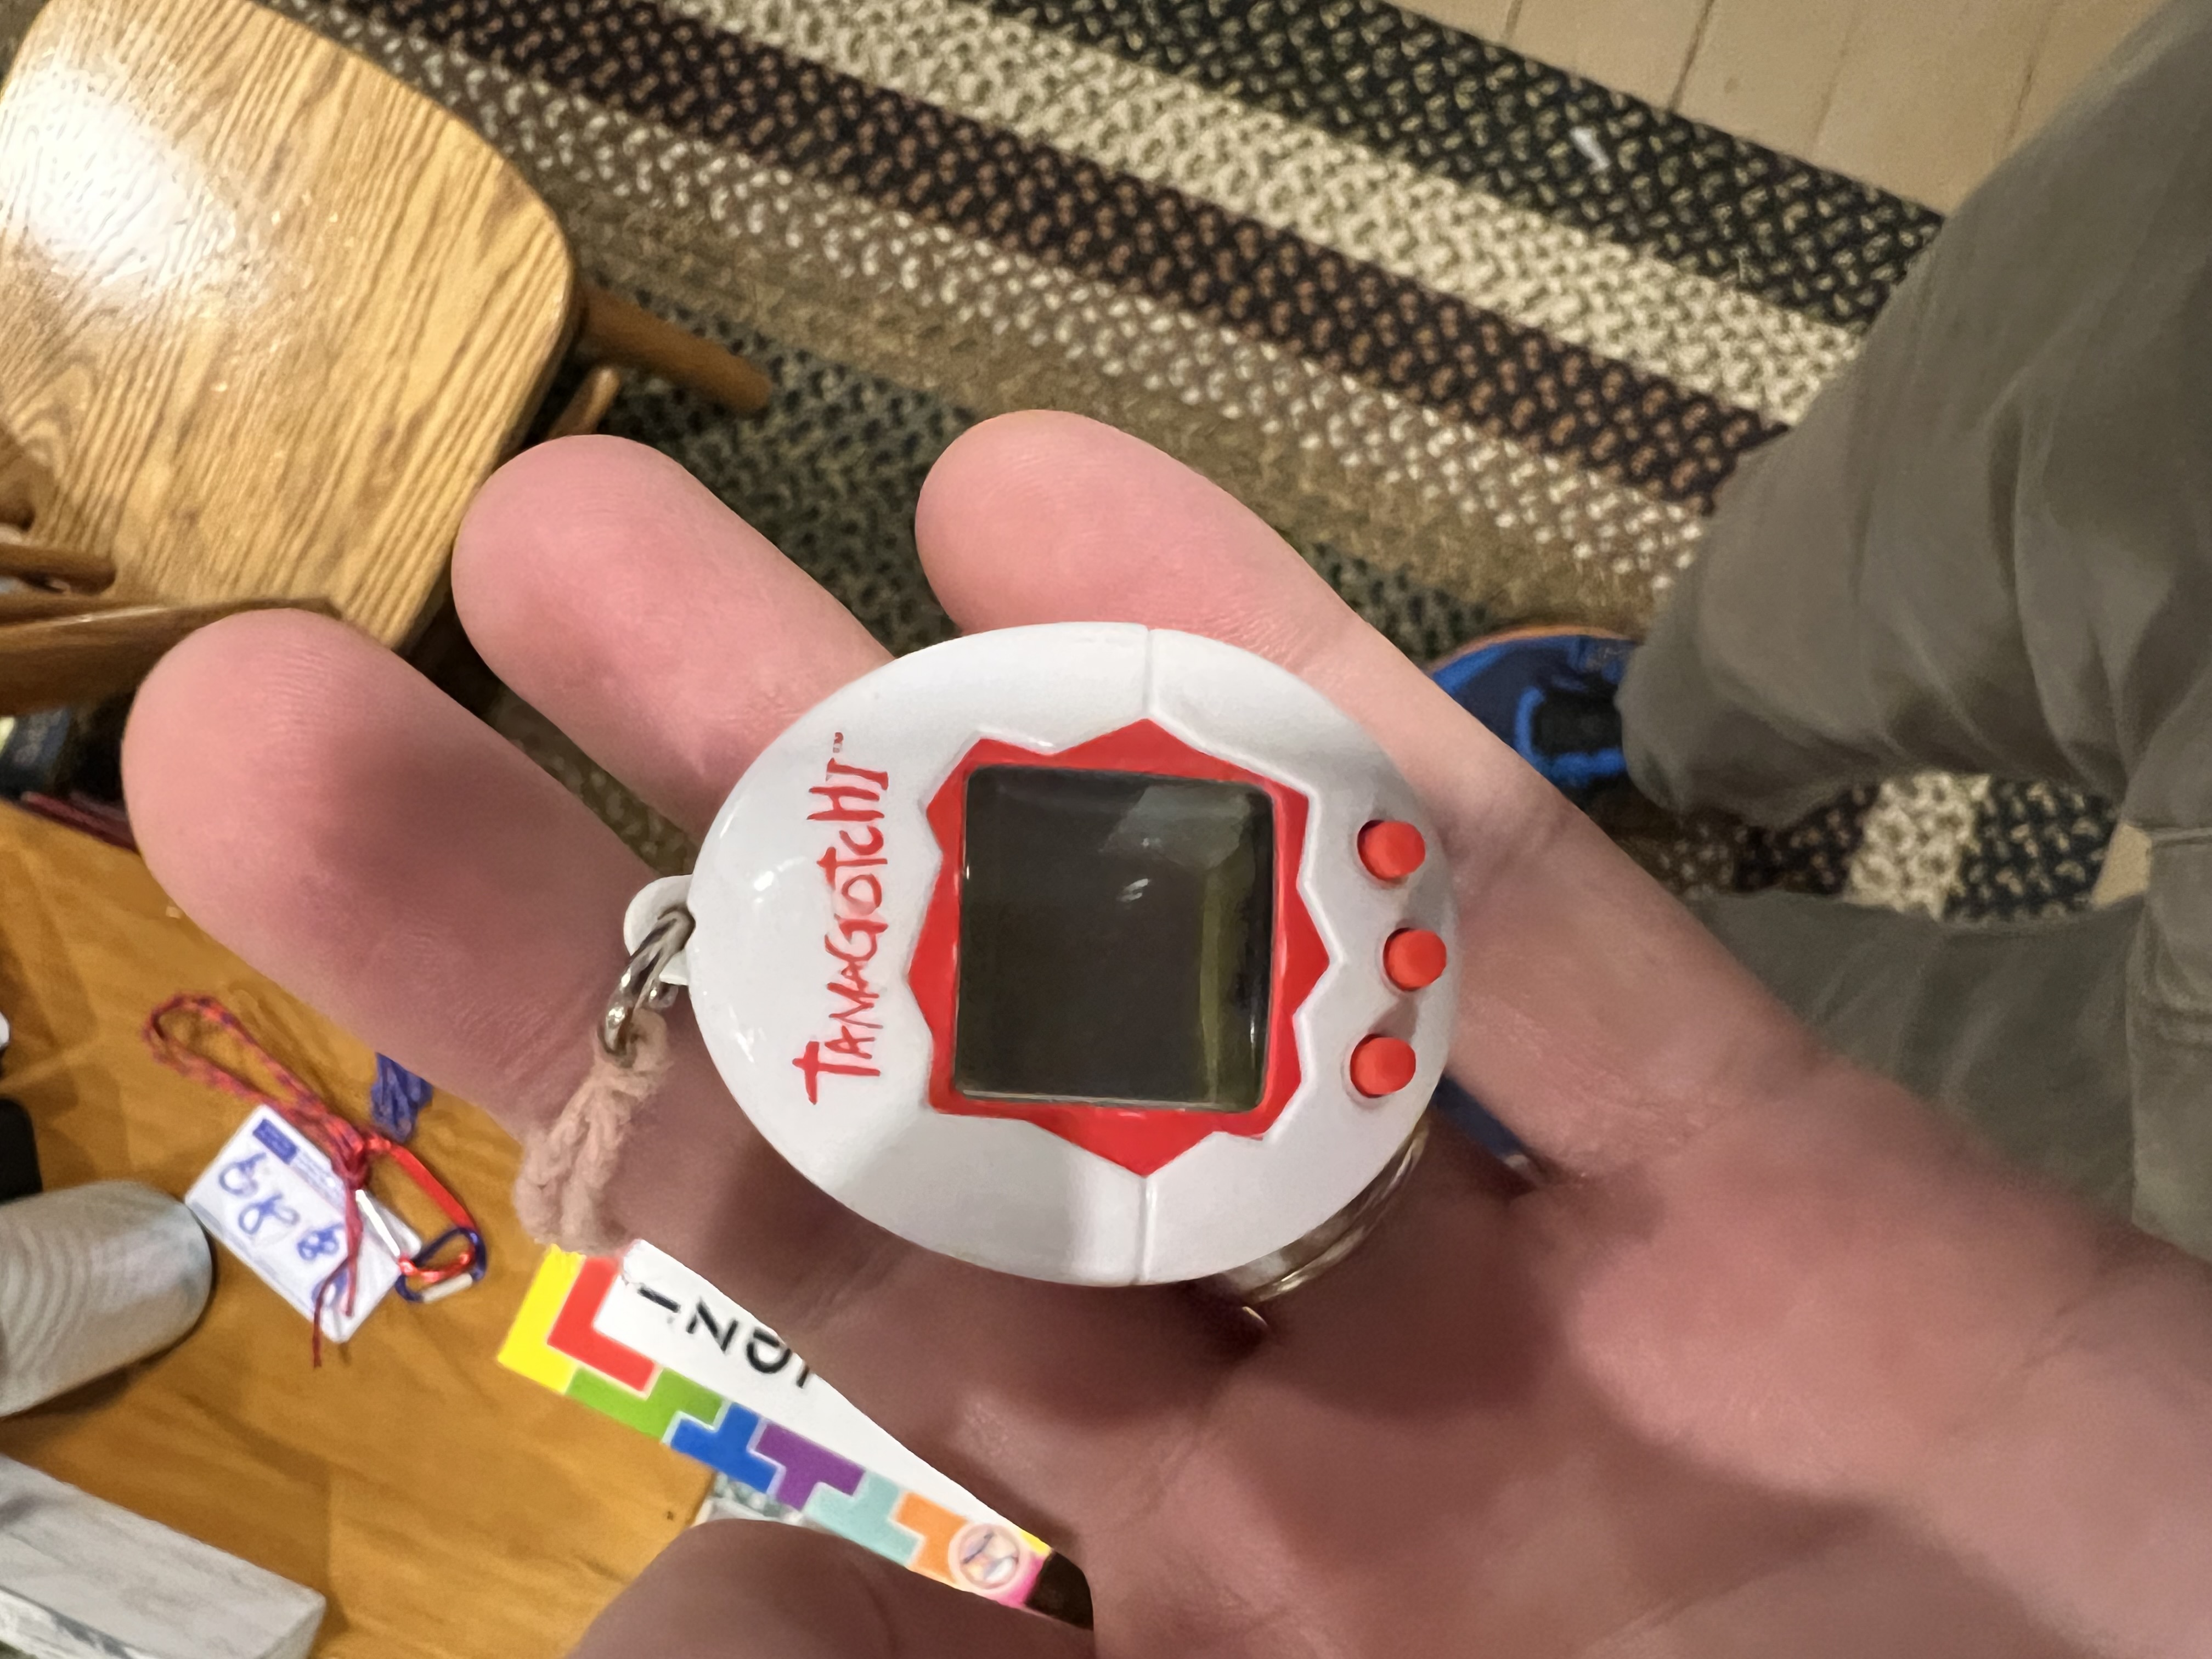
When we kicked off the badge project, two hard constraints framed every design choice: keep the per-unit cost reasonably low and deliver a form factor that felt purpose-built for THOTCON’s nostalgic Tamagotchi theme. Everything else—sensor topology, trace geometry, even where the screen would sit—were informed by those choices.
⸻
Chasing pennies without losing the vibe
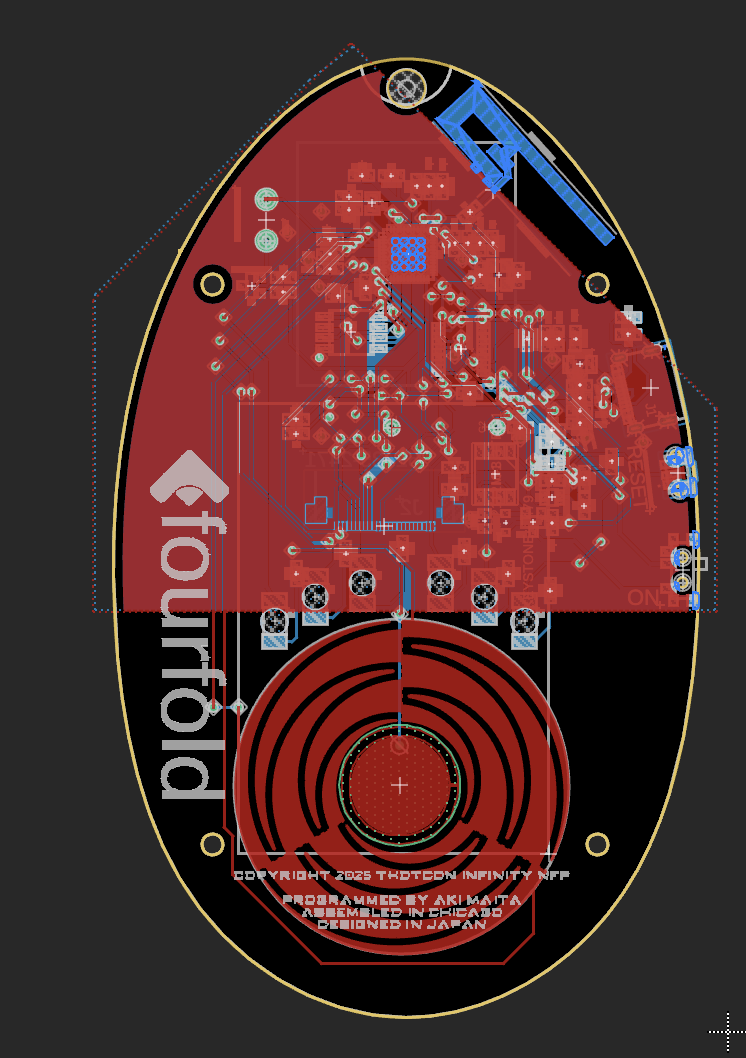
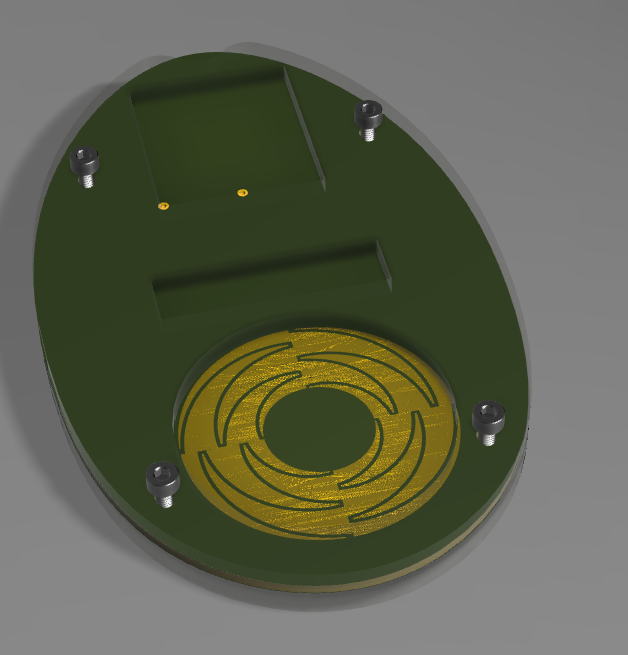
A traditional mechanical encoder would have burned four BOM lines and forced us to pay pick-and-place for a bulky part that never quite looks the part on a bare board. So we started scouring reference designs for a capacitive alternative. Texas Instruments’ I CapTouch Open SCAD Design templates jumped out: three touch-cap slices and nothing more—exactly three pins for the wheel and leveraging the ESPs touch decoder instead of an encoder IC plus passives. On paper that saved four dollars thirty-eight cents per badge; in a 2,000-unit run, that was real money.
The template was parametric, which meant we could script our way to the right size rather than redrawing in CAD every time the mechanical envelope changed. That script → DRC → paper-print loop ran seven times in 24 hours before the wheel finally snuggled into a 32 mm window inside a 54 × 38 mm oval without clipping the edges or screen connector cut-out.
⸻
Environmental Considerations
Copper weight was the silent killer: go too thin and the wheel’s series resistance drifts with temperature; go too thick and we blow the budget. We settled on 1-oz copper, 8 mil traces, 8 mil gaps—thin enough to fit, fat enough to hold Rc below 50 Ω across Chicago’s spring humidity expectations
⸻
Outcomes (so far)
•	-$4.38 BOM + placement per board
•	+120 mm² routing headroom for future Easter-egg circuits
•	64 positions/rev after calibration, with < ±2 counts jitter
•	Zero mechanical wear, 100 % nostalgia
⸻
What’s next
Part 3 will peel back the firmware: oversampling tricks, noise shaping, and how to map raw capacitance into buttery-smooth scrolling. Part 4 will dig into enclosure design and production QA. Stay tuned!
⸻